How to Use a Digital Manometer for Gas Pressure Testing
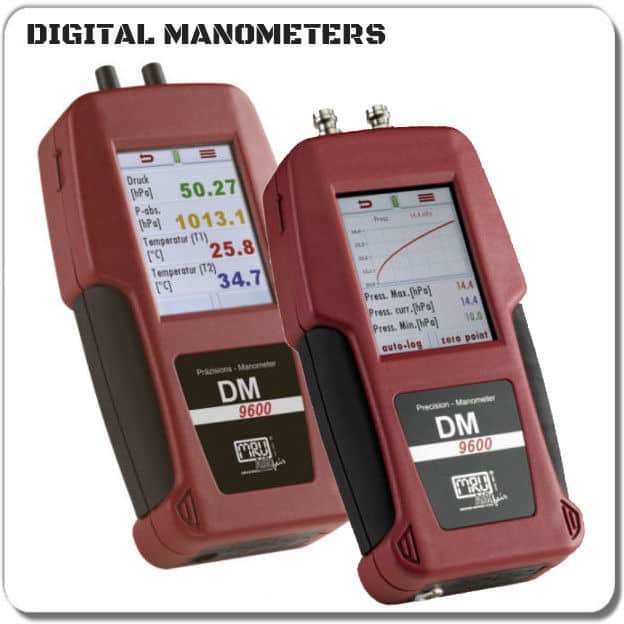
A digital manometer is a useful instrument for measuring pressure in gas systems, HVAC equipment, combustion appliances, boilers, burners, and other applications where accurate pressure measurements are important. Unlike traditional liquid-column manometers, digital instruments provide pressure readings electronically and can offer multiple measurement units, data storage, temperature measurements, and other functions.
Knowing how to use a manometer correctly is just as important as choosing an accurate instrument. Incorrect connections, failure to zero the instrument, unsuitable measurement ranges, or unstable operating conditions can produce misleading readings.
This guide explains how to use a digital manometer for gas pressure testing and the practical considerations that can help produce reliable measurements.
What Does a Digital Manometer Measure?
A manometer measures pressure or pressure differences. Depending on the instrument and configuration, it can be used to measure gas pressure, differential pressure, draft, pressure across components, and other low-pressure applications.
Digital manometers may display measurements in units such as pascals (Pa), hectopascals (hPa), millibars (mbar), bar, pounds per square inch (psi), inches of mercury (inHg), millimeters of mercury (mmHg), or inches of water column (inH₂O).
For gas pressure testing, inches of water column and pascals are particularly common because many gas appliances operate at relatively low pressures.
Step 1: Select the Appropriate Manometer
Before beginning a measurement, make sure the manometer is appropriate for the expected pressure range.
Using an instrument with a range that is too small can overload the pressure sensor. Using one with an unnecessarily large range may reduce the usefulness of the reading, particularly when measuring very small pressure differences.
Consider:
Expected pressure range
Required measurement resolution
Pressure units
Whether differential pressure is required
Whether the application involves combustion equipment
Whether temperature measurements are needed
Whether measurements need to be recorded
Whether the instrument will be used in the field
For professional technicians, additional features such as automatic zeroing, data storage, Bluetooth connectivity, or auxiliary inputs can make repeated testing easier.
Step 2: Inspect the Instrument and Tubing
Before connecting the manometer, inspect the instrument, tubing, connectors, and fittings.
A damaged hose or loose connection can allow pressure to escape and result in an inaccurate measurement.
The tubing should also be appropriate for the pressure and temperature of the application.
Step 3: Turn on the Manometer
Switch on the instrument and allow it to complete its startup process.
If the instrument has an automatic zeroing function, allow it to complete the zeroing process before connecting it to the pressure source.
Zeroing is important because the instrument needs a known reference point before measuring pressure differences.
For differential pressure testing, the two pressure ports generally represent the higher-pressure and lower-pressure sides of the measurement.
Step 4: Select the Correct Measurement Unit
Choose the unit appropriate for the application.
For example, a technician working with a gas appliance may commonly use inches of water column, while an industrial application may specify pascals, millibars, or another unit.
Using the unit specified by the equipment manufacturer or testing procedure makes the result easier to compare with expected values.
If a specification is provided in another unit, use a reliable conversion rather than estimating the value.
Step 5: Connect the Pressure Hose
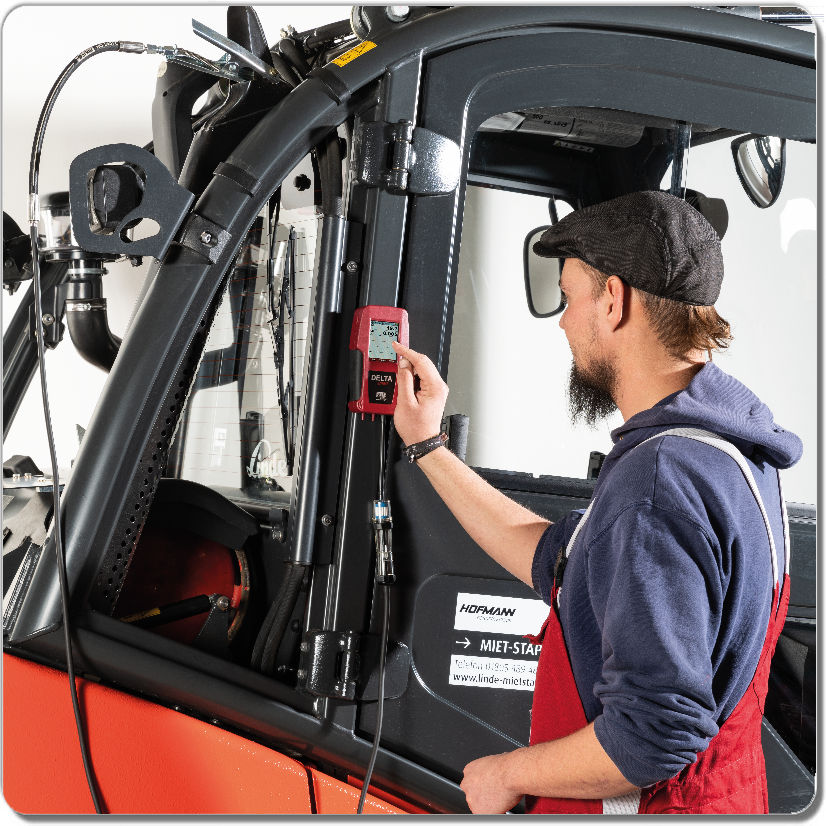
Connect the appropriate hose to the manometer pressure port.
For a simple pressure measurement, one side of the instrument may be connected to the pressure source while the reference side remains at atmospheric pressure, depending on the instrument and measurement configuration.
For differential pressure testing, connect the high-pressure side to the appropriate pressure point and the low-pressure side to the reference point.
Always follow the manufacturer’s instructions for the particular manometer.
Step 6: Allow the Reading to Stabilize
Once the instrument is connected, do not immediately assume that the first displayed number represents the final measurement.
Watch the displayed value and determine whether the reading has reached a stable condition.
Step 7: Compare the Measurement With the Required Specification
The most important part of gas pressure testing is not simply obtaining a number. The measurement needs to be compared with an appropriate reference.
Depending on the application, that reference may come from:
Equipment manufacturer’s specifications
Installation instructions
Service documentation
Engineering specifications
Applicable testing procedures
A commissioning requirement
A pressure reading that looks reasonable in isolation may still be incorrect for a particular appliance or process.
Testing Gas Pressure During Combustion
Digital manometers are particularly useful when working with combustion equipment.
Technicians may use pressure measurements when troubleshooting:
Boilers
Furnaces
Burners
Gas appliances
Regulators
Gas supply systems
Combustion equipment
Pressure testing can help determine whether a system is receiving the expected gas pressure and can also help identify conditions that require further investigation.
Pressure should not, however, be interpreted in isolation. Combustion performance may also depend on fuel composition, air supply, burner condition, flue conditions, and other variables.
Measuring Draft and Differential Pressure
A manometer can also be used for draft and differential pressure measurements.
For example, technicians may need to determine whether a combustion appliance is operating with an appropriate pressure differential or whether a ventilation or exhaust system is producing the expected draft.
These measurements can be particularly useful during commissioning and troubleshooting.
Avoiding Common Measurement Errors
Several simple mistakes can affect manometer readings.
Not zeroing the instrument
Always establish the correct zero reference before testing.
Using the wrong pressure range
Select a range appropriate for the expected pressure.
Using damaged tubing
Even a small leak can affect low-pressure measurements.
Connecting the ports incorrectly
For differential pressure measurements, make sure the high and low sides are connected correctly.
Measuring before stabilization
A fluctuating system may produce readings that are not representative of normal operation.
Ignoring the measurement unit
Make sure the displayed unit matches the unit used in the applicable specification.
For professional service work, recording measurements can be valuable.
A digital manometer with internal memory, USB connectivity, Bluetooth, or software integration can make it easier to document pressure readings.
Recorded measurements can be used to:
Document commissioning
Compare before-and-after conditions
Support troubleshooting
Create service records
Demonstrate testing was completed
Identify changes over time
Choosing a Digital Manometer for Professional Use
The best instrument depends on the application.
Important specifications include pressure range, accuracy, resolution, measurement units, sensor type, durability, battery life, data storage, and connectivity.
For technicians who work across multiple applications, a multifunctional instrument can be particularly useful because it may allow pressure measurements to be combined with other measurements.
Conclusion
Learning how to use a manometer properly can make gas pressure testing faster, more consistent, and more useful for troubleshooting. The basic process involves selecting the appropriate instrument, inspecting the equipment, zeroing the manometer, making the correct connections, allowing the reading to stabilize, and comparing the result with the applicable specification.
For professional HVAC, combustion, boiler, burner, and industrial applications, a digital manometer can provide a convenient way to obtain and document pressure measurements without relying on a traditional liquid-column instrument.
The most important principle is simple: a manometer reading is only useful when the instrument, connection, measurement range, and testing conditions are appropriate for the application.